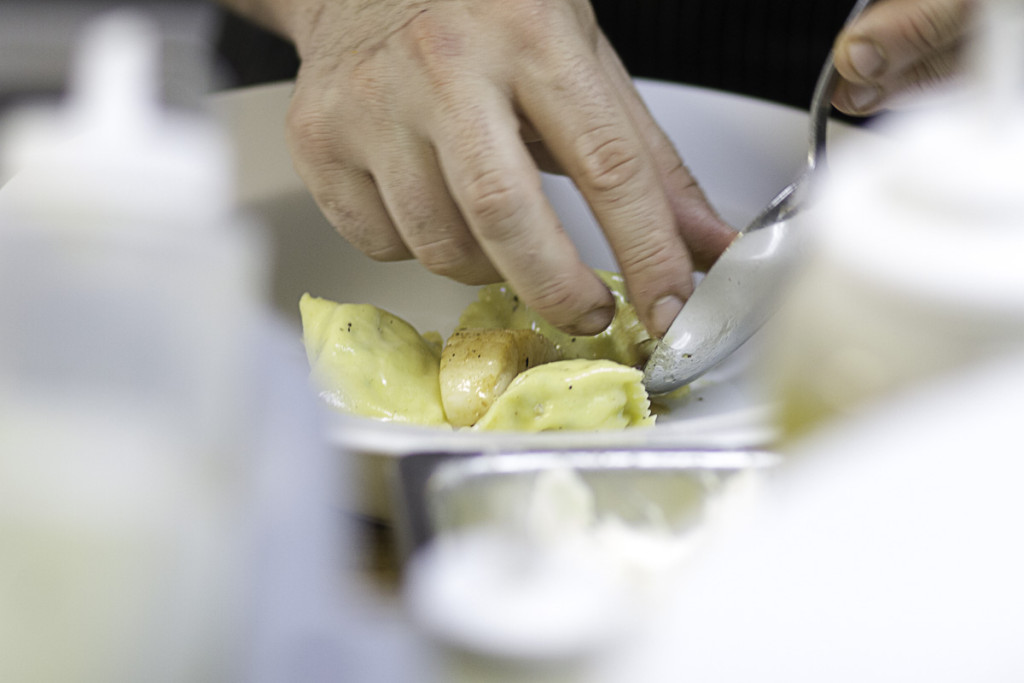
Every time you photograph food, products or a still life setting it´s a good idea to incorporate the following tips. Feel free to think of this as your checklist before you begin.
Good natural light
When taking photos, you want lots of light – but not direct light. Direct light will cause harsh shadows, which you don’t want. Use reflectors, mirrors or white foam boards to help you get good soft lighting and open up shadows.
Use a tripod
Get and use a tripod. Most people can´t hold their cameras steady enough at shutter speeds lower than 1/90– a shaky hand creates a blurry photo. The use of a tripod will result in tact sharp shots. If you can’t use a tripod, lean against a chair, a table or a wall.
Remote Shutter Release/Timer
If camera shake is your enemy, you might looking to a remote shutter release for your camera. The first time I ever used one I felt so liberated. I was able to walk around freely, chat with my client and shoot away. This can be as simple as button on a cord that when plugged into your camera, allows you to depress the shutter without touching the camera at all. You can also achieve a similar result by utilizing the timer on your camera. I shoot with Canon and they have a great app that Ihave downloaded and use as a wireless remote. BEST.THING.EVER!!!
Use a reflector
The most useful inexpensive thing you can get is a reflector. My first one was a 3 in 1 with a white, sliver side and a gold side. This will let you fill in areas of your shot that are dark or add a bit of color pop.
Get the white balance right
Learn to white-balance your shots. I most often shoot with the “daylight” setting on or the “automatic white balance” one. I always wear a white tee and ask my client to take a photo of me prior to the session. You can purchase a gray card for $5 and take a picture of that prior to the session.
Don’t be Scared of ISO
Go for low ISO (100-200) as often as the lighting conditions allows. There is more less digital noises at lower ISO and that allows you to retain a higher quality of your pictures. But during the winter months when you are faced with gray skies and earlier evening , you will begin to consider ISO your best friend –today’s cameras are such good quality, that they can go high ISO without compromising the beautiful end result.
Depth of field (DOF)
Depth-of-field refers to how much of the area in front of or behind the subject of the image is in focus. A “shallow” DOF means that very little of the image is in focus – perhaps only the item itself, or even just a small part of it. experiment with this by playing with it when you shoot in aperture mode and keeping your f-stop low.
Exposure compensation
It’s an “easy” way to fix SOME lighting issues. It’s my BFF when skies are cloudy here in Philly and I “must” shoot something.
Keep it simple
Make sure to keep your styling simple. WHatever you’re shooting people places or things. KEEP IT SIMPLE!
Angle and crop
Angles add depth and cropping adds intrigue; together these make for an eye-catching photo! I usualy take 4 or 5 shots of the same subject and try different cropping and shooting angles to see what works best for my end goal.
Get really close
Experimenting with the macro setting on your camera or use a macro lens. This is an important feature if you are photographing small items like jewelry, or just want to capture some close up details shot.
Editing
My editing style is pretty simple when it comes to stock images. I use levels and curves to boost the exposure, I may use contrast and brightness and sometimes a little boost of color with a little saturation.
Bonus–Flash
On camera flash, if not used properly can wash out the colors and details in your photo. Professional product photos usually have soft shadows and a subtle background. To achieve this effect, you want to soften, as well as diffuse your light.

